Vue.js is awesome. I’m telling this after having used React for more than a year in production software. I have written about my experience creating React SPA here. If you haven’t tried Vue yet, I highly recommend giving it a try. The developer experience is at the center. In this guide, we will see how to add Vue to a Rails project. So let’s get rolling.
In this post, we are going to migrate our devise signup page to use Vue. I’ve chosen it after a lot of thought, as it will enable us to see a lot of power that Vue brings to the table. I’ll also use the Webpacker gem. This will allow me to use ES2015 syntax, Vue single file component and hot reloading. It’s ok if you don’t understand all of it. We will cover each topic in detail.
What we will build
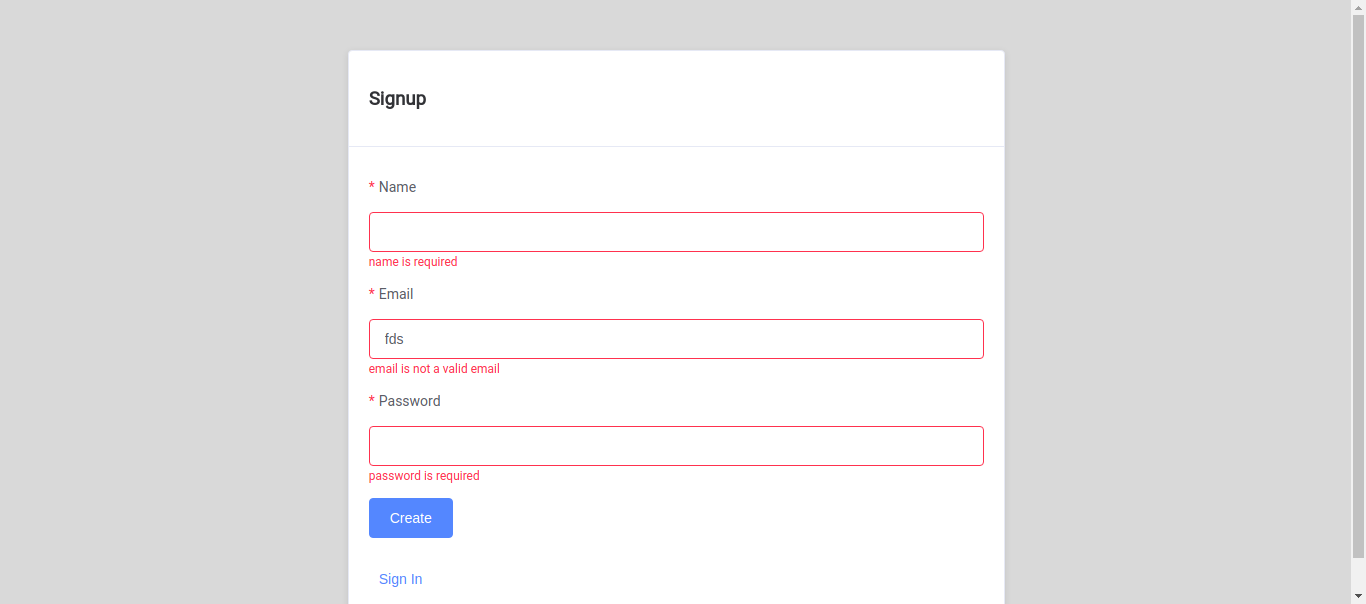
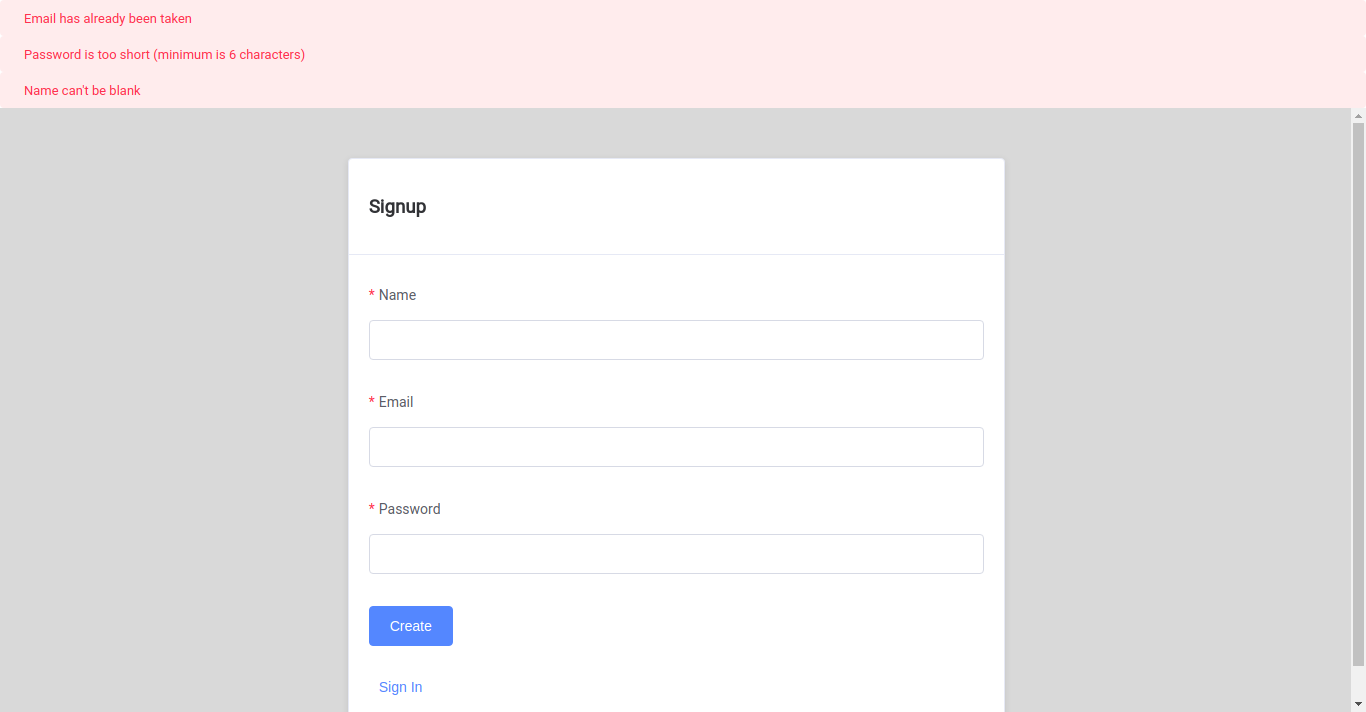
First let us see how the end result will look like. Here are a few screenshots.
The first time view

The client side validation

The server side errors and validation

Setting Up
I’ll assume that you have installed the Webpacker gem. If not here are the brief steps.
# Add webpacker to your Gemfile
gem 'webpacker', '~> 3.0'
# on your terminal
bundle
bundle exec rails webpacker:install

# OR (on rails version < 5.0)
bundle exec rake webpacker:install

# Intalling vue
# Rails 5.1+ new application
rails new myapp --webpack=vue

# existing project
bundle exec rails webpacker:install:vue
The gem has very good documentation which you would want to refer for more details. So now that we are off doing our setup let’s do some real work.
The File Structure
So all the Vue code we write will go in app/javascript note that it is different from our assets/javascript. As we already said that we are going to move our devise signup flow to use Vue. Here are a few files and folders that I’ve created to get started. There are many different ways to do this, I find these way most intuitive. I will also explain what each folder is supposed to mean.
app/javascript/
├── components
│   ├── App.vue
│   └── shared
│       └── csrf.vue
├── packs
│   ├── devise
│   │   └── registrations
│   │       └── new.js
└── views
    ├── devise
        └── registrations
            └── new.vue
If you see the content of you app/javascript you will already have a packs folder. This is the path which Webpacker will watch. Later on we can include CSS and JavaScript exported from this folder in any of our views. I’ve created several other folders which are very self explanatory.
- packs - JS files mapping 1-to-1 to a view file, they follow similar folder structure to the
app/views - views - Actual Vue files are stored here, they also follow the similar directory structure
- components - Any reusable component that you will create can go here
We can have more folders in the same level like:
- images - to store all the images that will be used in our Vue files
- api - to store all the ajax calling utilities and so on
So now I expect that your tree structure matches what I’ve in the view above. I also believe you have generated your devise views to be modified. Below is the command on how you can generate it.
# generate devise view
rails generate devise:views
The Real Code
We will now see code that will actually use Vue. I will try to annotate my source code for easy following.
Here is how my app/javascript/packs/registrations/new.js will look like:
Next up we will create the Vue file we imported in the above file. The file is located at
app/javascript/views/devise/registrations/new.vue. Here is how it looks like.
Here is how my app/views/devise/registrations/new.html.erb file looks like:
Update: Adding CSRF.vue file, sorry for the delay
Here is how my app/javascript/components/shared/csrf.vue file looks like:
Conclusion
I hope you enjoyed reading this article. If you want me to keep producing more such content, just give me a thumbs up in the comments below. If you have any comments and feedback feel free to let me know. Thanks for reading. :)